
Setting Up Your XE212#
The XE212 is an evaluation board which has the A212 sensor soldered onto it. All you need to connect it to a PC is a USB-C cable (not provided by Acconeer).
Hardware Overview#
The XE212 consists of a single board that provides support for on-sensor development as well as external host development.
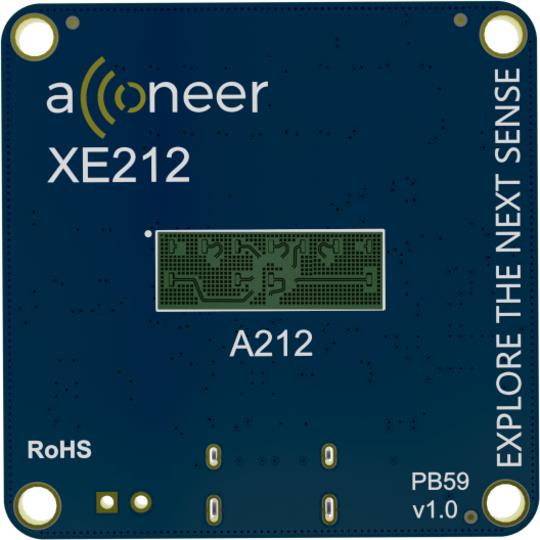
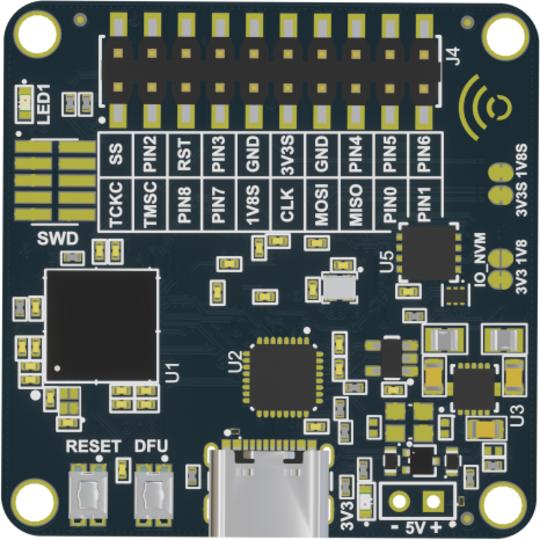
The figures below depicts the XE212 from the front and back.
USB Connection#
The XE212 connects over native USB and does not expose a COM port. This is
different from for example the XM125 and XM126 modules, which use a
USB-to-UART bridge. No driver installation is needed; Windows automatically
binds its in-box WinUSB driver (winusb.sys) the first time the board is
plugged in. The serial port connection options in Exploration Tool do not
apply to the XE212.
In the Windows Device Manager the board may show up as “XE212 Exploration Server” or “XE212 Interface”. Both names are normal. The USB product ID (Properties > Details > Hardware Ids) tells you which mode the board is in:
Hardware Id |
Meaning |
|---|---|
|
Exploration Server running (normal operation) |
|
Bootloader (DFU) mode, the board needs to be flashed |
Note that only one program can access the XE212 USB interface at a time.
Close any other program that communicates with the board (for example a
second Exploration Tool instance or the SDK’s xe212tool.py) before
connecting.
Flashing#
The XE212 board comes already flashed with an Exploration Server Application and can be connected directly to a PC and be used with Acconeer’s Exploration Tool.
Flashing with the Exploration Tool#
The most convenient method to prepare the XE212 board for flashing is to let the Exploration Tool Application automatically download the latest binary file from our developer page. If you want to flash a binary that you have locally on your computer; that is also possible.
Depending on how you installed in Exploration Tool Installation, start Exploration Tool by either
Double-clicking the
run_appscript,Running the command
python -m acconeer.exptool.appin your terminal.
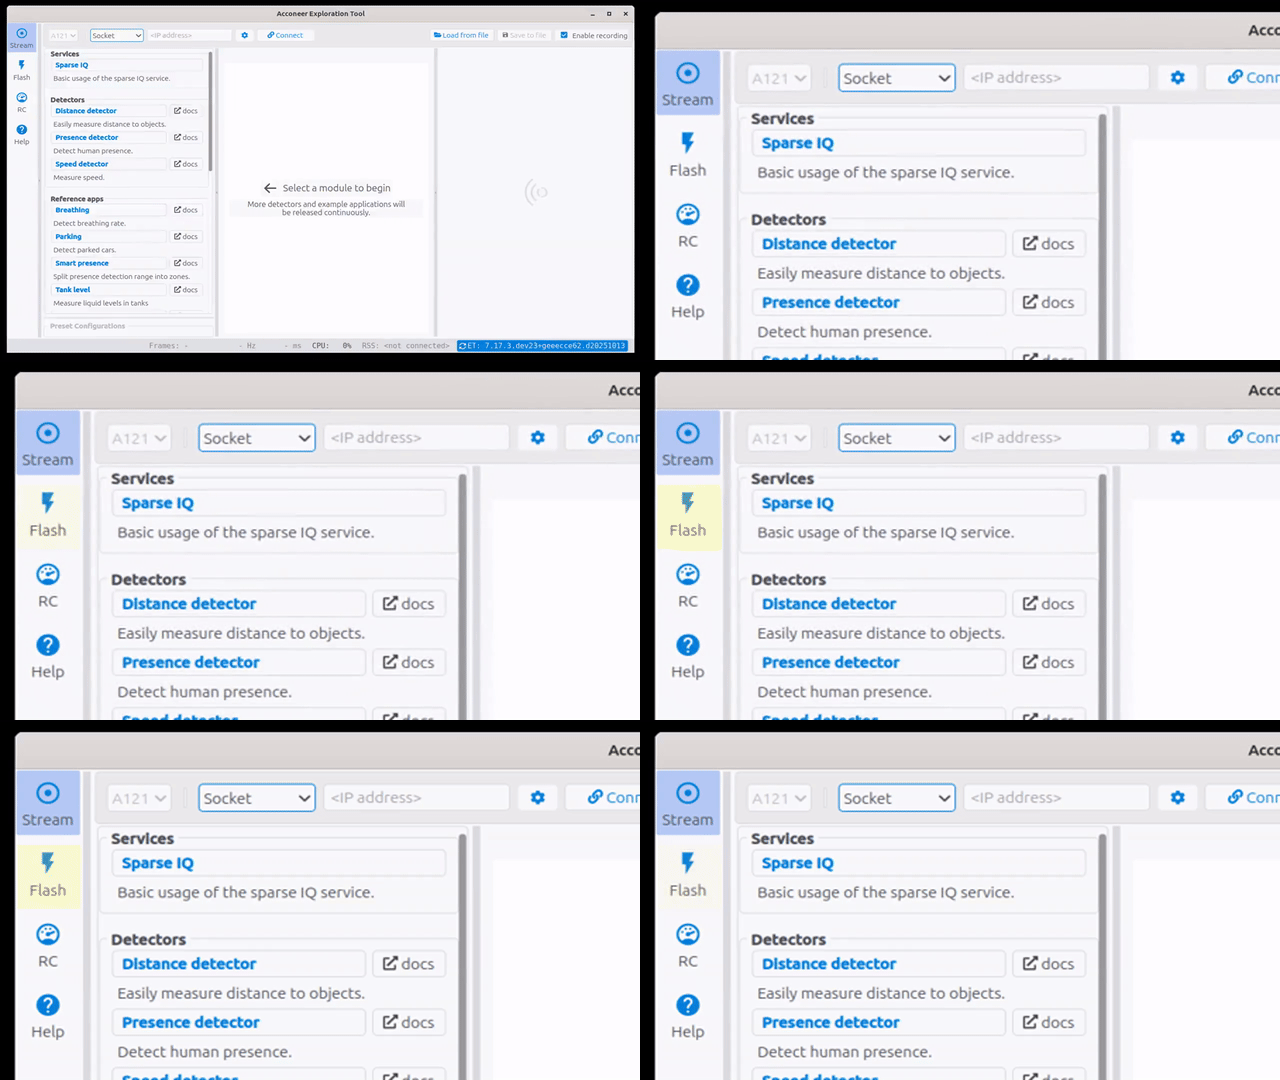
Then get started by pressing the Flash button in Exploration Tool and you will be guided through the flashing process.
Troubleshooting#
Exploration Tool shows no device although Windows detects the board#
If the XE212 enumerates correctly in the Device Manager but Exploration Tool reports that no device is available, the USB device scan in Exploration Tool has most likely failed. There are two known triggers:
Another USB device connected to the PC (typically a USB-C docking station, USB-C monitor, USB bridge, or hub) interferes with the device scan. This can happen even when the XE212 itself is plugged directly into the PC.
Another process is already holding the board’s USB interface, for example a second Exploration Tool instance or the SDK’s
xe212tool.py. Only one process can access the board at a time.
In both cases the console output from run_app typically shows an error
containing [Errno 22] Invalid parameter.
To resolve it, close all programs that may access the board, disconnect all other USB devices (remove the laptop from its docking station if applicable), connect the XE212 directly to a port on the PC, and restart Exploration Tool.
Board stuck in bootloader (DFU) mode after flashing#
Flashing while another process has the board’s USB interface open can fail
and leave the board in bootloader (DFU) mode (product ID A560 or
A562, see the table above). To recover, close all programs that access
the board, disconnect all other USB devices, and run the flashing process
again from Exploration Tool. The board returns to normal operation once the
Exploration Server has been flashed successfully.