Setting Up Your XB122 + XM126#
To evaluate the XM126 module, it is recommended to connect it to an XB122 break-out board to access different pins. A Micro USB cable (not provided by Acconeer) is needed to connect the XB122 board to a PC.
Hardware Overview#
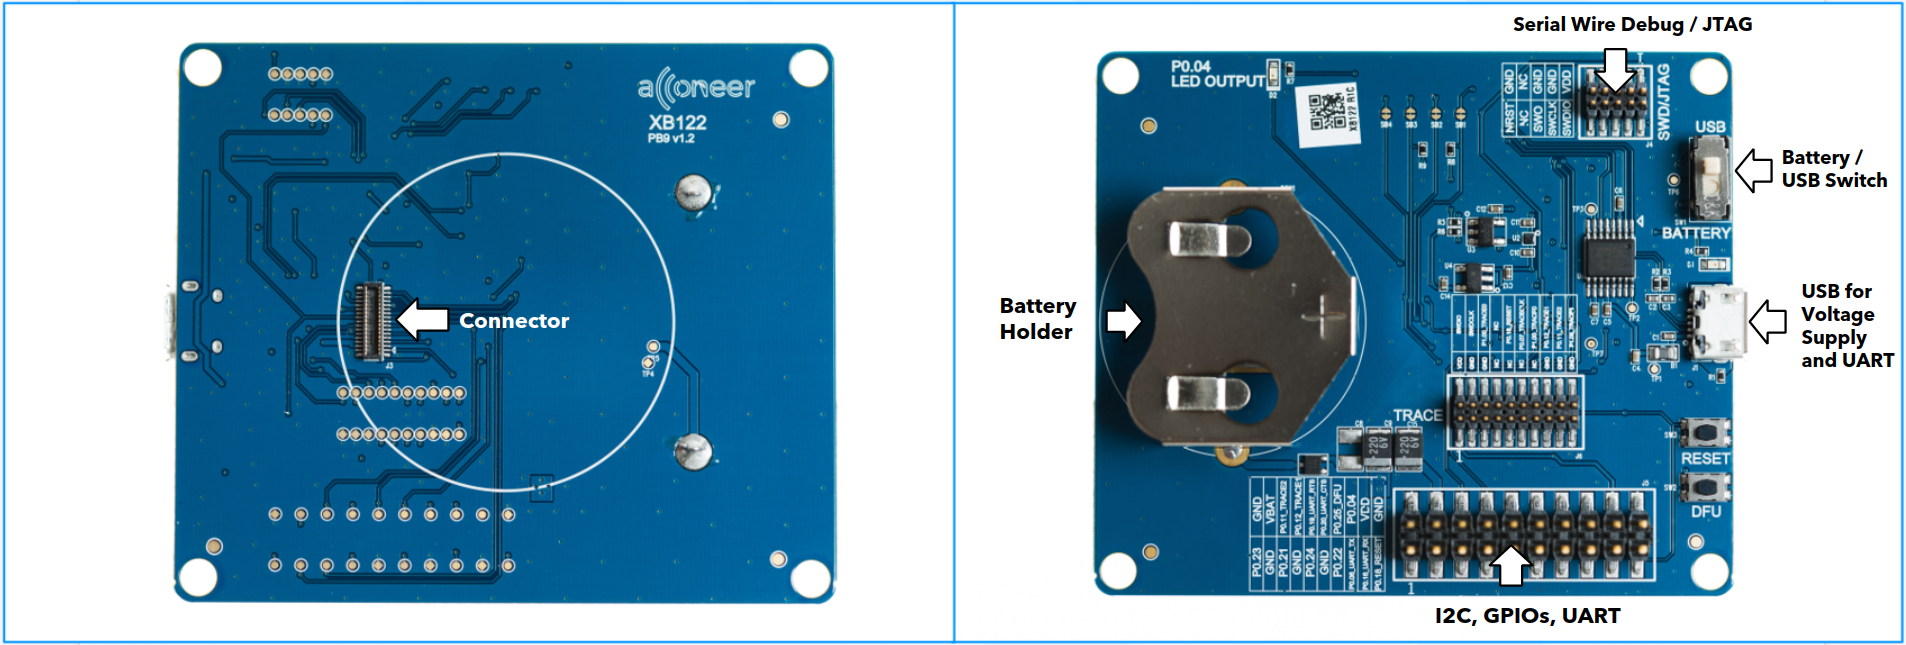
The image below depicts the XB122 from the front (left) and back (right).
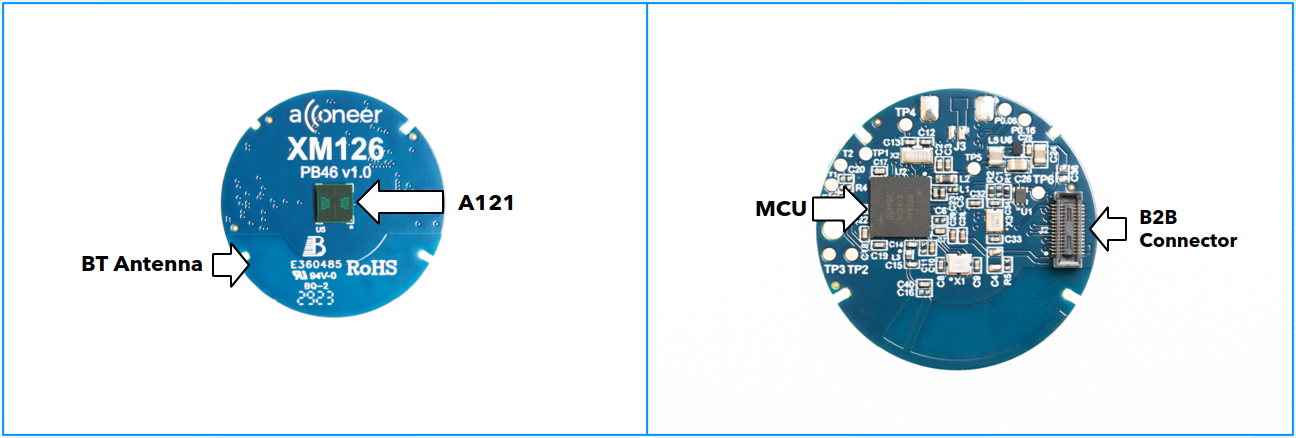
The image below depicts the XM126 from the front (left) and back (right).
Finding the Serial Port#
In preparation for connecting and flashing, it is good to know the serial port of the device.
Use Device Manager to find the port. It is listed under Ports (COM & LPT) as USB Serial Port or Enhanced COM Port.
It’s most likely COMx where x is 3 or higher.
It’s likely /dev/ttyUSBx where x is 0 or some other integer.
PySerial has a simple tool for listing all ports available:
python -m serial.tools.list_ports
Windows COM Port Drivers#
If no COM port is recognized when plugging in a module, you need to install a driver:
XM126: FTDI
On the page from the link above, go through the following steps to install the driver:
Select Windows (Desktop)
Click on
setup executableExtract the downloaded file
Click on the extracted .exe file
Follow the installation instructions
Flashing#
The most convenient method to prepare the XM126 board for flashing is to let the Exploration Tool Application automatically download the latest binary file from our developer page. If you want to flash a binary that you have locally on your computer; that is also possible.
Depending on how you installed in Exploration Tool Installation, start Exploration Tool by either
Double-clicking the
run_appscript,Running the command
python -m acconeer.exptool.appin your terminal.
Then get started by pressing the Flash button in Exploration Tool and you will be guided through the flashing process.